Deploy a Milvus Cluster on OpenShift
This topic provides a step-by-step guide on how to deploy Milvus on OpenShift.
Prerequisites
Before beginning the deployment process, ensure you have:
- A running OpenShift cluster.
- OpenShift cluster access with sufficient privileges (
cluster-adminrole or equivalent). - Access to the OpenShift Container Platform web console.
Step 1: Install Cert Manager
Cert Manager is required for managing TLS certificates for Milvus Operator.
Find a suitable cert-manager version for your OpenShift version: Cert Manager Releases.
Install Cert Manager following the official guide: Cert Manager Installation.
Verify your Cert Manager is working:
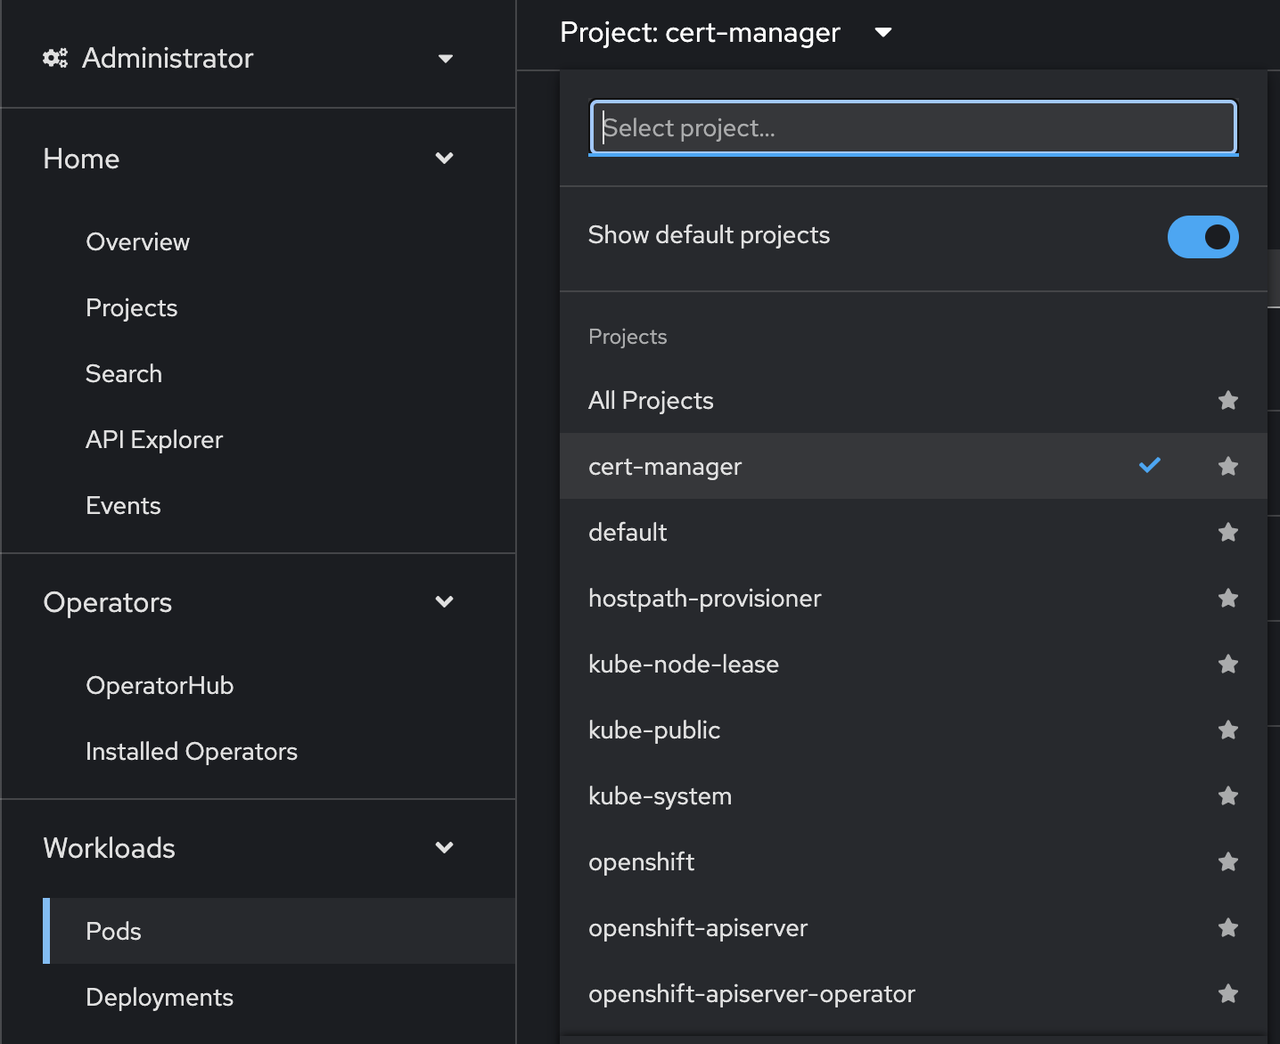
In your openshift console, navigate to Workloads > Pods. Select the project cert-manager.
 cert-manager-1
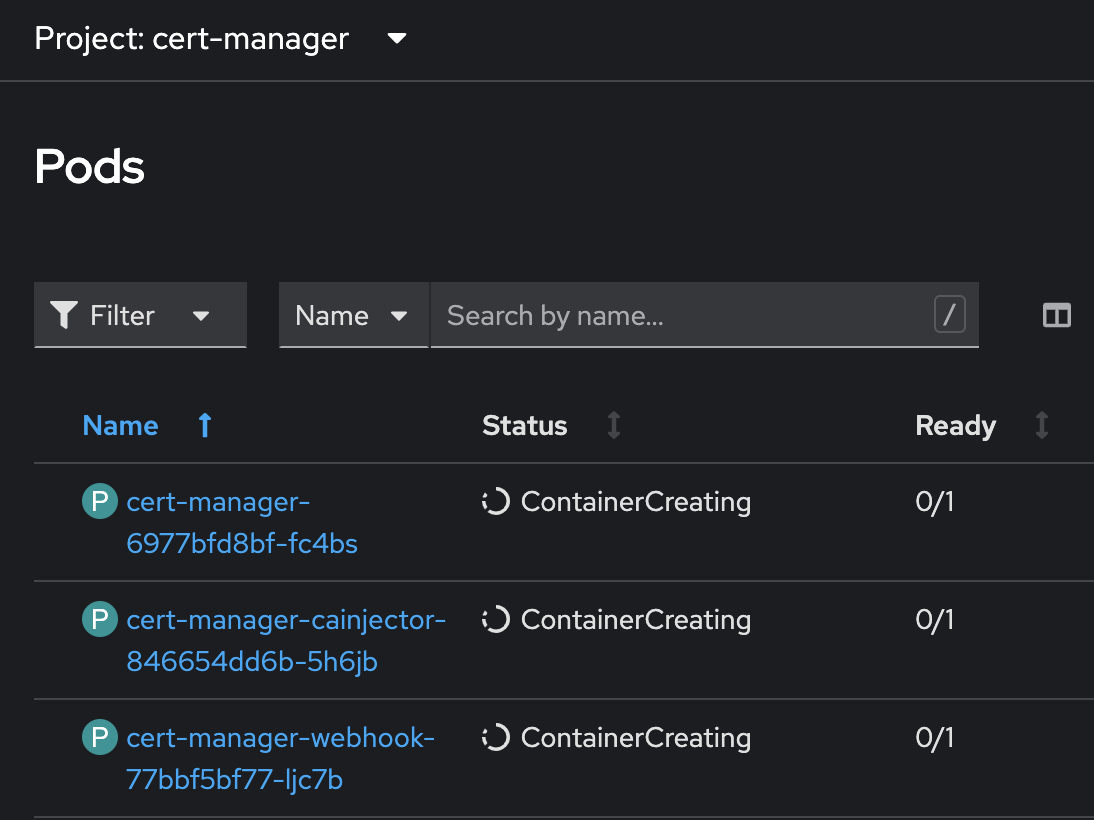
Ensure all the pods are ready. For example, the image below suggests that the pods are still starting. Wait until all these pods are ready.
 cert-manager-2
Step 2: Issue a Self-Signed Certificate for Milvus Operator
Ensure you are logged in as kubeadmin or have equivalent privileges.
Create the following manifest file named
milvus-operator-certificate.yaml:# milvus-operator-certificate.yaml apiVersion: cert-manager.io/v1 kind: Certificate metadata: name: milvus-operator-serving-cert namespace: milvus-operator spec: dnsNames: - milvus-operator-webhook-service.milvus-operator.svc - milvus-operator-webhook-service.milvus-operator.svc.cluster.local issuerRef: kind: Issuer name: milvus-operator-selfsigned-issuer secretName: milvus-operator-webhook-cert --- apiVersion: cert-manager.io/v1 kind: Issuer metadata: name: milvus-operator-selfsigned-issuer namespace: milvus-operator spec: selfSigned: {}Apply the file:
kubectl apply -f milvus-operator-certificate.yaml
Step 3: Install Milvus Operator
Now you can start installing the Milvus Operator. It is recommended to use Helm to install Milvus Operator to simplify the configuration process.
Add the Milvus Operator Helm repository:
helm repo add milvus-operator https://zilliztech.github.io/milvus-operator/
helm repo update milvus-operator
Install Milvus Operator:
helm -n milvus-operator upgrade --install --create-namespace milvus-operator milvus-operator/milvus-operator
Step 4: Deploy Milvus
Follow the rest of the guide on the Milvus documentation site: Deploy Milvus.
What’s Next
If you want to learn how to deploy Milvus on other clouds: